Did you know that more than 400,000 new homes are built each year? And, that number only seems to be increasing.
If you’re going to be building your own home, you’ll need to come up with a floor plan. After all, without the floor plan, it’ll be hard to build a house you love!
So, are you ready to learn how to create a floor plan? Let’s find out how in this fun guide to building the best floor plans.
Step One: Figure Out the Floor Plan Type
The first step to creating a floor plan in your home is to choose the area you’ll be working in.
There are several different floor plan types that you can choose from, after all. A couple of ideas include:
- Ranch style
- Multi-level
- Cape cod homes
- Two-story
- Cottage
Aside from that, you might be working on a single room or you could be designing your whole house at once!
If you’re working on an entire floor plan, make sure that you should create a plan for each floor in the home.
Step Two: Get Your Dimensions Right
After you figure out the type of floor plan, you’ll need to get your measurements. Knowing the measurements of your space is essential for creating an accurate floor plan.
If you’re working on a floor plan for a building that’s already there, this is much easier. You can simply measure out the space that you have to work with.
On the other hand, if you’re working on a home that hasn’t been built yet, it’ll be a bit trickier. You’ll have to get measurements of the total space available before sectioning off rooms and adding walls.
Step Three: Sketch Out a Preliminary Design
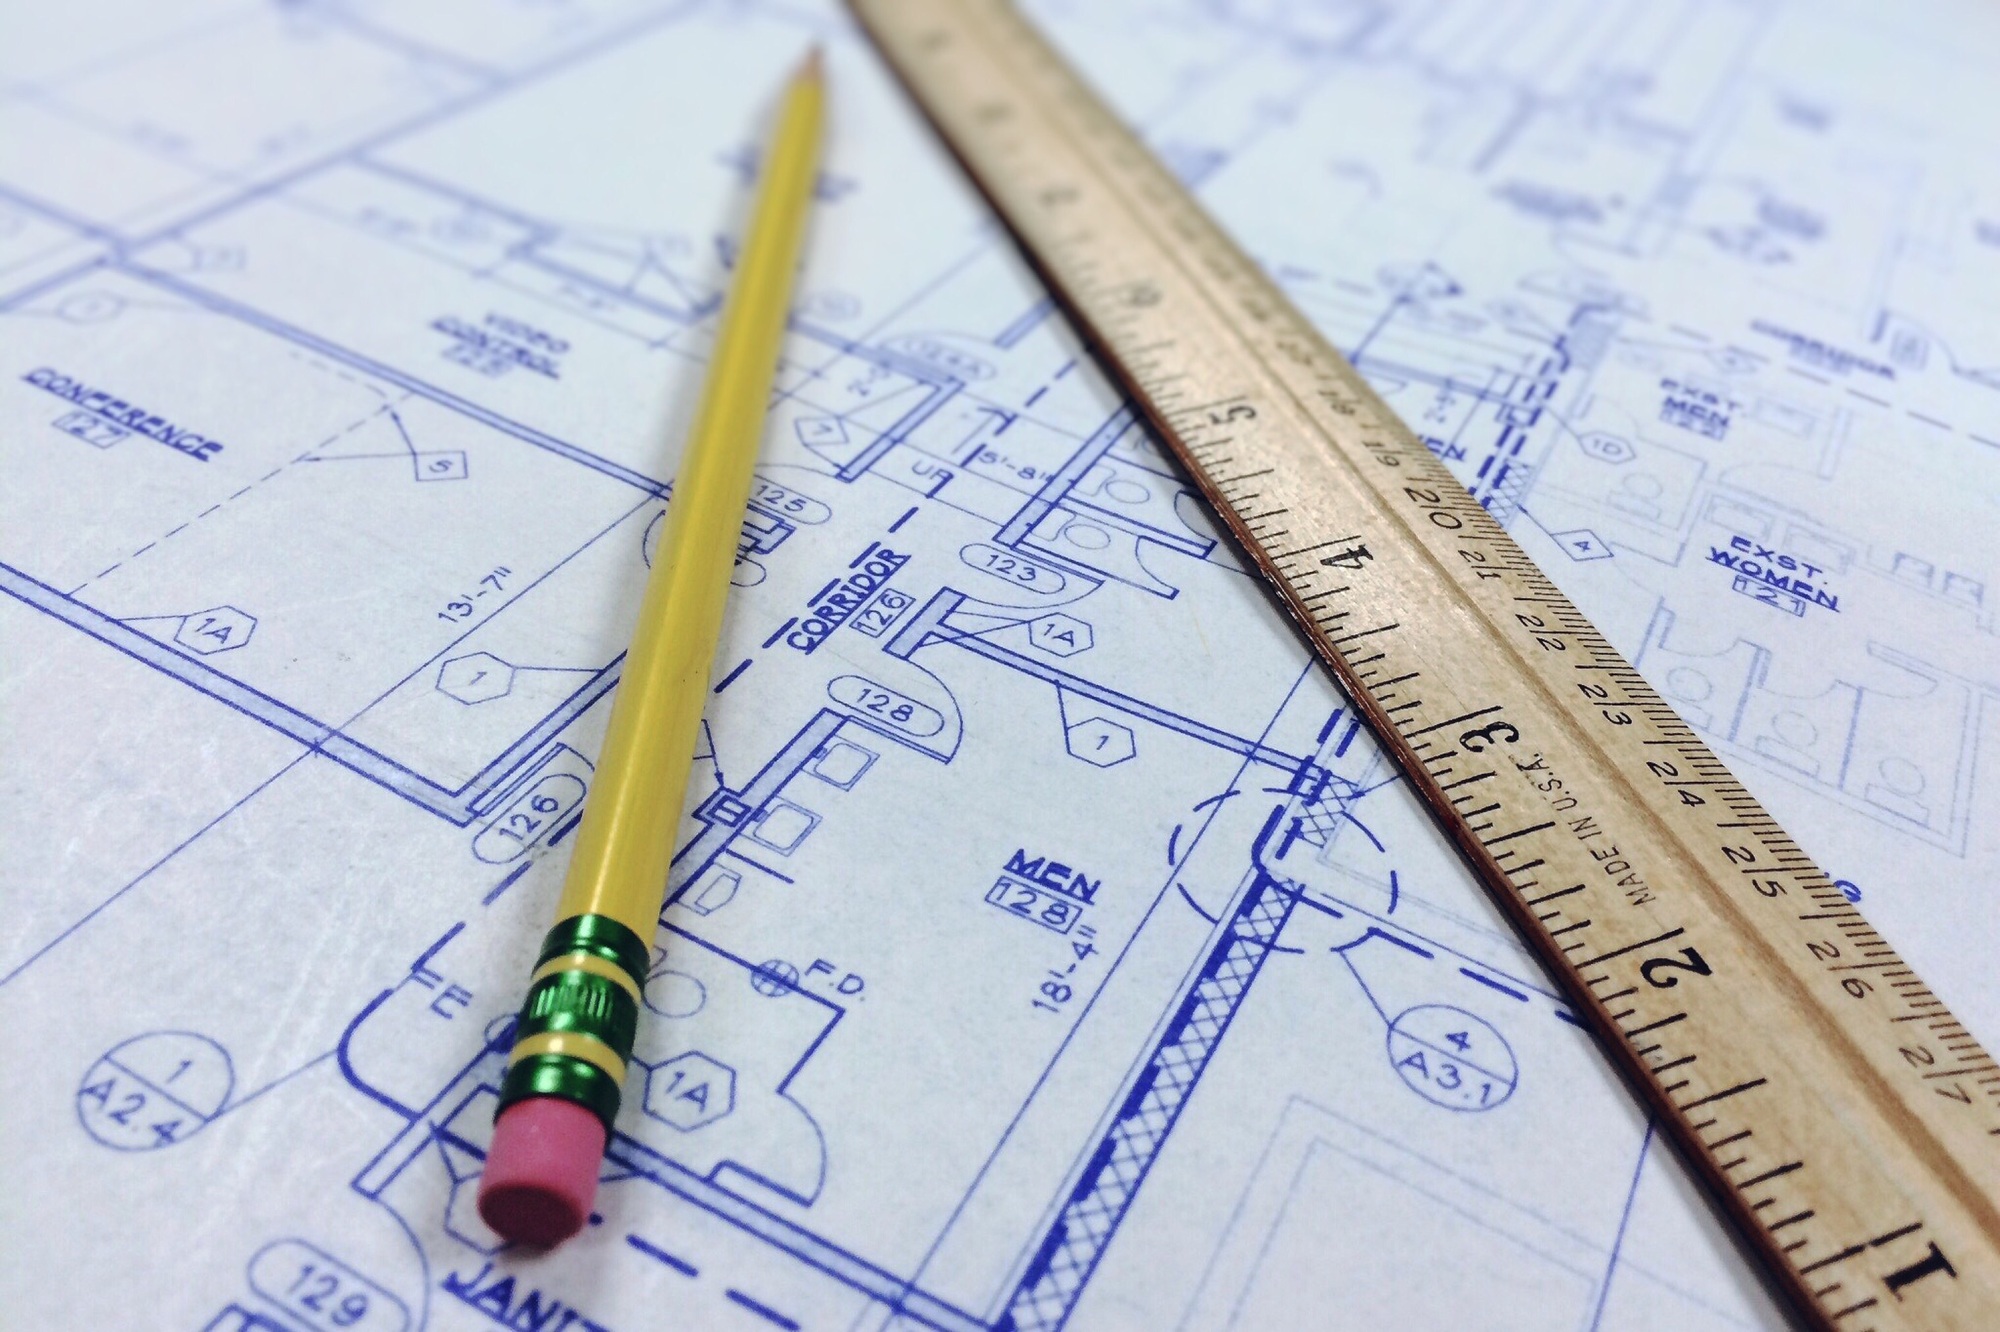
With the dimensions figured out, it’s time for you to sketch out your preliminary design. There are two ways to do this:
- With a floor plan software
- By hand using graph paper
If you’re sketching by hand, make sure to use a pencil. You’ll need to be able to erase your lines in case you want to change something in the future.
Regardless of the way you sketch your preliminary design, you need to make sure that you draw your plan to scale. Doing so will help make your design more accurate.
If you don’t properly scale your drawing, you run the risk of your measurements being off. That could result in your floor plan being impossible to execute.
Step Four: Use Shorthand Markings
Now, with the basic design out of the way, it’s time to get to work marking up your work. This involves using abbreviations and symbols on your floor plan to help denote doors, stairs, and walls.
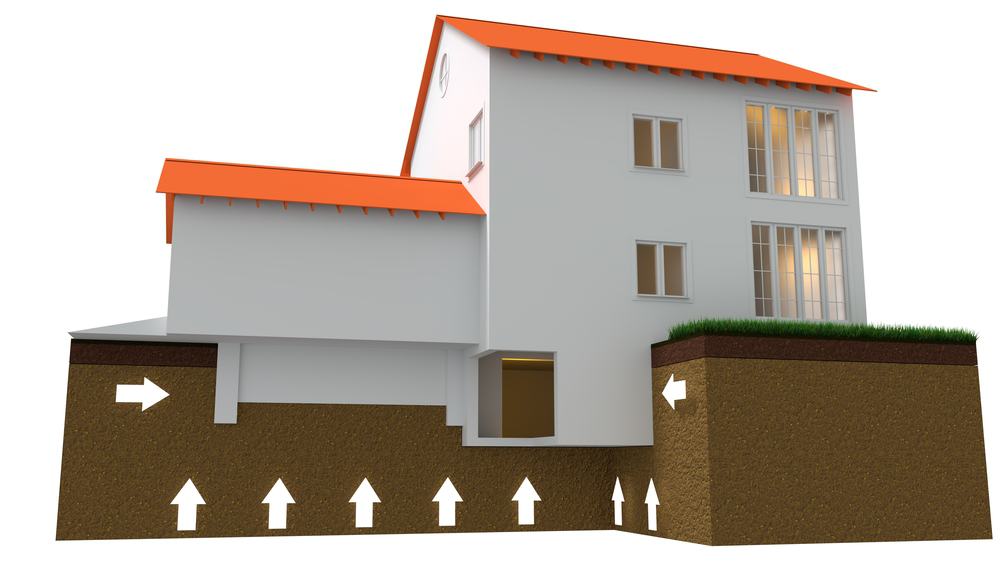
Shorthand markings are important because they make it easier for builders and architects when reading the plan and getting ready to lay down your house foundations.
A few common shorthand markings you should know about include:
- Using thick dark lines for the exterior walls and slightly thinner lines for the interior walls
- Marking windows with double lines
- Marking door swings with arcs
- WC denoting water closets
- HW denoting water heater locations
These are just a few of the shorthand symbols you should know about. It’s a good idea to read up on what common shorthand is so that you know how to properly mark your floor plan.
Step Five: Mark the Features
Speaking of shorthand, you’re going to need to mark out a lot of features on your floor plan. This is important for getting an idea of how much space you’ll have for furniture.
So, what do you need to include? Wiring, phone jacks, outlets, AC and heating units, and protruding ducts are all a few different things that should go on your floor plan.
Take note of where you’re placing these features in the rooms. You should also make sure that these items are drawn to scale so that you know how much space they occupy.
Step Six: Take Note of Window Placement
Another thing to keep in mind while making your floor plan is where your windows will be placed. This is key because it’s what will determine how much light gets into your home.
Your windows will receive different amounts of sunlight depending on whether they face north, south, east, or west. The amount of sunlight your home gets will alter the look and feel of the home.
Knowing how much light your windows will let in will also make it easier for you to determine how large or small you want the windows to be. If the windows are at an angle that doesn’t allow for a lot of light, you might want them to be bigger.
On the other hand, smaller windows may work better for spots that allow lots of light into the room.
Step Seven: Add the Elevation
Last but not least, when making your floor plan you need to add the elevation. But wait, aren’t floor plans top-down views of the home?
Yes, but elevation still matters.
Elevation is important because it’s what will give you a different perspective of your home. Keep this in mind while you’re designing your floor plan for the best results.
Create a Floor Plan You Love
With this guide on how to create a floor plan for your home, we’re confident you’ll come up with a home design you love. Besides, there’s no better way to get excited about your home-to-be than to get involved in the design process!
Are you ready to get started laying the foundations of your home? We can help! Get in touch to schedule your FREE consultation with our team!